This post is really for the guitar techie crowd...so if you have no interest in guitars, and modifications to them, then I'll spare you and recommend you move on. This is an article about my black Fender Stratocaster makeover, including full electronics rebuild. Part One is a recap of original work I did right after the purchase (new pick guard and body shielding), and Part Two is the most recent recap of the electronics rebuild (repair shielding, new pickups, new wiring kit). Most of the information I used to make buying decisions and guitar electronics came from reading posts just like this on the Internet. I share my story in hopes that it may be helpful for someone else. It's my way of "giving back". :-)
Let's get to it!
PART ONE
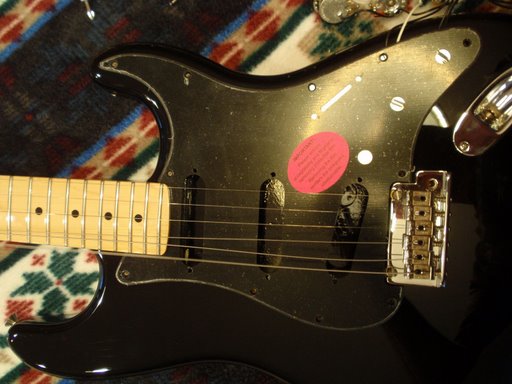
Here is my guitar as it looked on day one after I bought it:
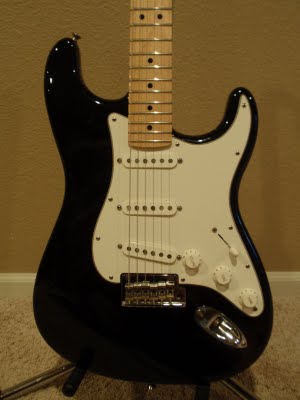
It's a 2008 Fender American Standard Stratocaster. I own two electric guitars, and this has become my favorite (the other being an Elitist Les Paul). Anyway, the very first thing I wanted to do was something cosmetic. I am not a huge fan of the tuxedo look (black/white). It's just to clean...too proper...to formal. Since this guitar has a maple fretboard, I decided to go for the all black look (a la David Gilmour).
I hunted down a 1-ply gloss black pick guard (a harder task than I thought). In the end, I ordered a custom made one from Warmoth Custom Guitar Parts (http://www.warmoth.com/Pickguard/StratPickguard.aspx). The challenge with a 1-ply pick guard is finding one thick enough that it won't warp after installation (since all the electronics and pickups are hanging off of it). This particular pick guard is and 11-hole .09" black solid gloss:
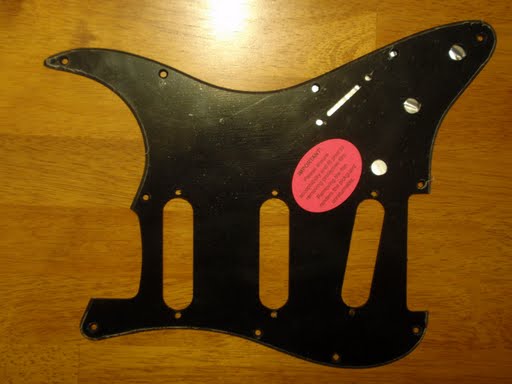

Here is a pic of it compared with the factory 3-ply pickguard that was on the guitar:
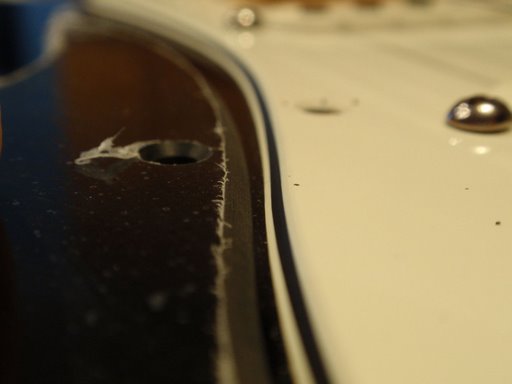
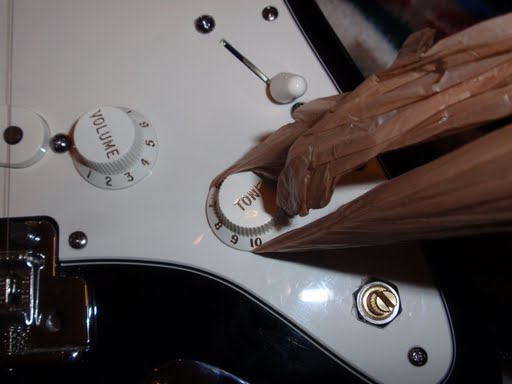
First, I needed to remove the factory pick guard...and I have to remove knobs to make that happen. My favorite method for removing knobs is the plastic grocery bag technique. There are lots of methods, and even tools you can buy to remove knobs...but this trick works great. Best of all - it's free. Just flatten out the handle of a plastic grocery bag, slip it under the knob and get it wrapped around the pot post, then slowly pull up:
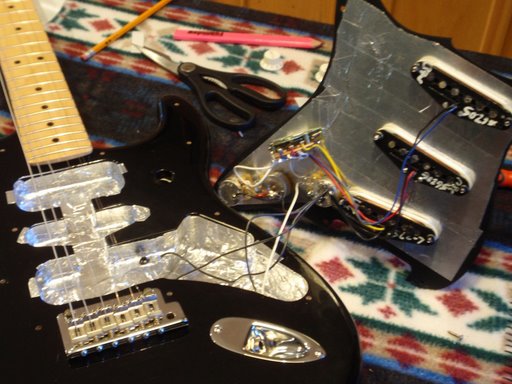
Here is my first look at the stock guitar guts after pulling the pick guard off. There is noticably more shielding on the factory pick guard, and obviously no body cavity shielding. Thankfully I was also able to do the entire project without removing the strings...just loosening. That's good, because I just put brand new Elixirs on...and hated to waste them.

In order to get the pickups re-aligned quickly in the new pick guard, I used a pencil mark to denote the position of the pickups in the factory pick guard. I then just screwed them in on the new pick guard to the same leveling. Seemed to be a quick way to get back into adjustment.

Looking at this bare body made me want to add shielding. Didn't really plan on it or think about it before, but since I had some aluminum duct tape laying around...figured I would do that while I was in there.

But first...had to do a test fit, to make sure all the holes aligned. It fit like a charm!
Next I added the shielding to the back of the pickguard. I was careful on all the shielding to make sure that there was good metal-to-metal contact from piece to piece. This was accomplished by always folding over a corner or section of the tape to have it sit non-sticky side against non-sticky side. Hard to see any of the folds here:

I would make little folds like this:

...or this. This is a piece I would lay across two other pieces that would tie them together.

Here is the finished body. I made sure to have tabs that would touch against the pickguard shielding, and at least one place where the shielding was over a pickguard screw hole. Not sure how much difference this makes, but it made me feel good.

Of course, I cut out the shielding for the pickup and control holes, then reinstalled the stock electronics.
And then it gets put back together, and here is the "after picture":


That brings us to the end of Part One. I like the new look. The shielding, which is supposed to help reduce noise from the single coil strat pickups, really didn't seem to matter much. I began wondering if I missed something...but would wait until the next time I cracked it open to have a look.
Part two takes us into the electronics side of things, and gets into changing the tone rather than the looks. Part Two...coming up.
Part Two is here: http://cpo1.wordpress.com/2009/10/04/stratocaster-makeover-part-two/
No comments:
Post a Comment